如何在安卓中编程控制洛蒂动画?
原文:https://www . geeksforgeeks . org/how-control-Lottie-animatics-programming-in-Android/
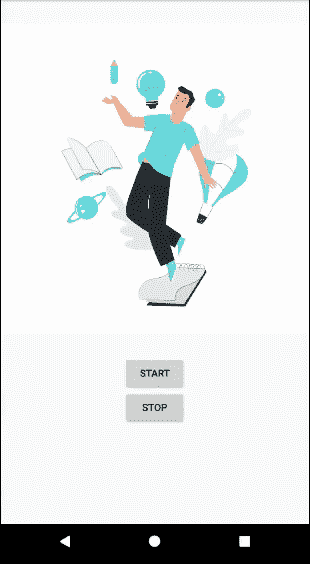
洛蒂是一个安卓和 iOS 的移动库,可以解析用 Bodymovin 导出为 JSON 的 Adobe After Effects 动画,并在手机上进行原生渲染。洛蒂动画可以自由使用矢量动画文件。许多著名的应用程序都使用这个,如优步、网飞、谷歌、Airbnb、Shopify 等。使用洛蒂,人们可以将动画放入移动(安卓/iOS)应用程序中,甚至可以控制它们。通过这篇文章,我们想和你分享一个用洛蒂在安卓系统中控制 JSON 动画的方法的实现。下面给出了一个 GIF 示例,以了解我们在本文中要做什么。请注意,我们将使用 Kotlin 语言来实现这个项目。
注意:在安卓中使用洛蒂动画请参考如何在安卓应用中添加洛蒂动画
控制洛蒂动画的步骤
第一步:创建新项目
要在安卓工作室创建新项目,请参考如何在安卓工作室创建/启动新项目。注意选择科特林作为编程语言。
第二步:将库添加到 build.gradle 文件
要使用洛蒂实现一个动画,首先,在应用的 build.gradle 文件中实现一个依赖实现‘com . Airbnb . Android:洛蒂:\(洛蒂外翻’**。2020 年 10 月最新版本为 **3.4.2** ,用该值替换\) lottieVersion。现在,通过单击在对 build.gradle** 文件进行每次更改后出现的同步选项来同步项目。请记住,build.gradle 总是一个 Groovy 或 Kotlin 文件。
实现' com . Airbnb . Android:lotte:3 . 4 . 2 '
第三步:给项目添加一个洛蒂动画文件
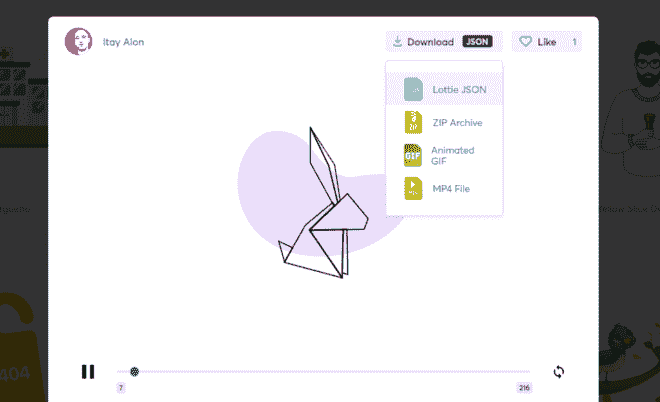
从 这里 选择任意动画,下载动画的 JSON 文件。
现在转到应用程序> res >右键单击>新建>文件夹>原始资源文件夹并将 JSON 文件复制到此原始文件夹。
第 4 步:使用 activity_main.xml 文件
在 activity_main.xml 文件中,通过指定参数来声明一个洛蒂对象。还要声明两个按钮,一个启动动画,一个暂停动画。主要参数是:
- 洛蒂 _rawRes :接收要显示的 JSON 动画。
- lottie_loop :布尔值,根据提供的布尔值决定动画是否循环。
- 洛蒂 _ 自动播放:布尔值,决定动画一初始化就播放。
值得注意的是,JSON 动画应该只保存在 res 文件夹下名为 raw 的文件夹中,因为函数是显式调用这个文件路径的。并且 JSON 文件的名称不应包含除“ _ ”之外的任何特殊字符。
可扩展标记语言
<?xml version="1.0" encoding="utf-8"?>
<RelativeLayout
    xmlns:android="http://schemas.android.com/apk/res/android"
    xmlns:app="http://schemas.android.com/apk/res-auto"
    xmlns:tools="http://schemas.android.com/tools"
    android:layout_width="match_parent"
    android:layout_height="match_parent"
    tools:context=".MainActivity">

    <com.airbnb.lottie.LottieAnimationView
        android:id="@+id/animationView"
        android:layout_width="wrap_content"
        android:layout_height="wrap_content"
        android:layout_centerHorizontal="true"
        app:lottie_autoPlay="false"
        app:lottie_loop="true"
        app:lottie_rawRes="@raw/animation1" />

    <Button
        android:id="@+id/btnStart"
        android:layout_width="wrap_content"
        android:layout_height="wrap_content"
        android:layout_below="@id/animationView"
        android:layout_centerHorizontal="true"
        android:text="Start" />

    <Button
        android:id="@+id/btnStop"
        android:layout_width="wrap_content"
        android:layout_height="wrap_content"
        android:layout_below="@id/btnStart"
        android:layout_centerHorizontal="true"
        android:text="Stop" />

</RelativeLayout>
步骤 5:使用 MainActivity.kt 文件
下面是 MainActivity.kt 文件的代码。代码中添加了注释,以更详细地理解代码。
我的锅
import android.os.Bundle
import android.widget.Button
import androidx.appcompat.app.AppCompatActivity
import kotlinx.android.synthetic.main.activity_main.*

class MainActivity : AppCompatActivity() {
    override fun onCreate(savedInstanceState: Bundle?) {
        super.onCreate(savedInstanceState)
        setContentView(R.layout.activity_main)

        // Declaring the buttons
        val startBtn = findViewById<Button>(R.id.btnStart)
        val stopBtn = findViewById<Button>(R.id.btnStop)

        // On the click of startBtn
        startBtn.setOnClickListener {
             // is an Animation Listener
            animationView.playAnimation()
        }

        // On the click of stopBtn
        stopBtn.setOnClickListener {
             // is an Animation Listener
            animationView.pauseAnimation()
        }
    }
}
