使用安卓的缩放动画
模拟 3D 翻转
原文:https://www . geesforgeks . org/simulate-a-3d-使用机器人翻转-scaleanimation/
在本文中,我们将学习像在 Paytm 中看到虚拟卡一样,将一个图像翻转到另一个图像,如卡的正面和卡的背面。为此,我们将使用安卓的 缩放动画 。下面给出了一个示例 GIF,以了解我们将在本文中做什么。注意,我们将使用柯特林语言来实现这个项目。
分步实施
第一步:创建新项目
要在安卓工作室创建新项目,请参考如何在安卓工作室创建/启动新项目。注意选择科特林作为编程语言。
第二步:将方向设置为纵向模式
因为这是一个图形密集型的应用程序,我们希望方向始终保持不变,导航到 AndroidManifest.xml 文件,并添加 android:screenOrientation=“人像”。
…
安卓:screenOrientation=“人像”
…
……
第三步:在 res 文件夹下新建一个文件夹 anim
这里我们将包含两个表示我们的两个过渡动画的 XML 文件。导航到应用程序>RES>anim>to _ middle . XML并将下面的代码添加到该文件中。下面是到 _middle.xml 文件的代码。
可扩展标记语言
<?xml version="1.0" encoding="utf-8"?>
<scale
    xmlns:android="http://schemas.android.com/apk/res/android"
    android:fromXScale="1.0" android:toXScale="0.0"
    android:pivotX="50%"
    android:fromYScale="1.0" android:toYScale="1.0"
    android:pivotY="50%"
    android:duration="250" />
现在,从 _middle.xml 导航到应用程序> res > anim >,并将下面的代码添加到该文件中。下面是来自 _middle.xml 文件的代码。
可扩展标记语言
<?xml version="1.0" encoding="utf-8"?>
<scale
    xmlns:android="http://schemas.android.com/apk/res/android"
    android:fromXScale="0.0" android:toXScale="1.0"
    android:pivotX="50%"
    android:fromYScale="1.0" android:toYScale="1.0"
    android:pivotY="50%"
    android:duration="250" />
第四步:在布局中设置任意图像(卡片正面)对象
导航到应用程序> res >布局> activity_main.xml 并将下面的代码添加到该文件中。下面是 activity_main.xml 文件的代码。
可扩展标记语言
<?xml version="1.0" encoding="utf-8"?>
<androidx.constraintlayout.widget.ConstraintLayout
    xmlns:android="http://schemas.android.com/apk/res/android"
    xmlns:app="http://schemas.android.com/apk/res-auto"
    xmlns:tools="http://schemas.android.com/tools"
    android:layout_width="match_parent"
    android:layout_height="match_parent"
    tools:context=".MainActivity">

    <LinearLayout
        android:layout_width="fill_parent"
        android:layout_height="fill_parent"
        android:gravity="center"
        android:orientation="vertical"
        app:layout_constraintBottom_toBottomOf="parent"
        app:layout_constraintEnd_toEndOf="parent"
        app:layout_constraintStart_toStartOf="parent">

        <TextView
            android:id="@+id/textView1"
            android:layout_width="wrap_content"
            android:layout_height="wrap_content"
            android:layout_margin="10dip"
            android:text="Simulate a 3D Flip"
            android:textColor="#000"
            android:textSize="26sp"
            android:textStyle="bold" />

        <ImageView
            android:id="@+id/imageView1"
            android:layout_width="wrap_content"
            android:layout_height="300dp"
            android:layout_margin="10dp"
            android:gravity="center"
            android:src="@drawable/card_front" />

        <Button
            android:id="@+id/button1"
            android:layout_width="wrap_content"
            android:layout_height="wrap_content"
            android:layout_margin="10dip"
            android:padding="10dip"
            android:text="Hit Me!" />
    </LinearLayout>

</androidx.constraintlayout.widget.ConstraintLayout>
步骤 5:使用 MainActivity.kt 文件
转到 MainActivity.kt 文件,参考以下代码。下面是 MainActivity.kt 文件的代码。代码中添加了注释,以更详细地理解代码。
我的锅
import android.os.Bundle
import android.view.animation.Animation
import android.view.animation.AnimationUtils
import android.widget.Button
import android.widget.ImageView
import androidx.appcompat.app.AppCompatActivity

class MainActivity : AppCompatActivity(), Animation.AnimationListener {

    private lateinit var animation1: Animation
    private lateinit var animation2: Animation
    private var isFrontOfCardShowing = true
    private lateinit var image: ImageView
    private lateinit var clickBtn: Button

    override fun onCreate(savedInstanceState: Bundle?) {
        super.onCreate(savedInstanceState)
        setContentView(R.layout.activity_main)

        // apply animation from to_middle
        animation1 = AnimationUtils.loadAnimation(this, R.anim.to_middle)
        animation1.setAnimationListener(this)

        // apply animation from to_middle
        animation2 = AnimationUtils.loadAnimation(this, R.anim.from_middle)
        animation2.setAnimationListener(this)
        clickBtn = findViewById(R.id.button1)
        image = findViewById(R.id.imageView1)

        clickBtn.setOnClickListener {
            it.isEnabled = false

              // stop animation
            image.clearAnimation()
            image.animation = animation1

              // start the animation
            image.startAnimation(animation1)
        }
    }

    override fun onAnimationEnd(animation: Animation) {
        if (animation === animation1) {
            // check whether the front of the card is showing
            if (isFrontOfCardShowing) {
                // set image from card_front to card_back
                image.setImageResource(R.drawable.card_back)
            } else {
                // set image from card_back to card_front
                image.setImageResource(R.drawable.card_front)
            }
            // stop the animation of the ImageView
            image.clearAnimation()
            image.animation = animation2
              // allow fine-grained control
              // over the start time and invalidation
            image.startAnimation(animation2)
        } else {
            isFrontOfCardShowing = !isFrontOfCardShowing
            clickBtn.isEnabled = true
        }
    }

    override fun onAnimationRepeat(animation: Animation?) {
        // TODO Auto-generated method stub
    }

    override fun onAnimationStart(animation: Animation?) {
        // TODO Auto-generated method stub
    }

}
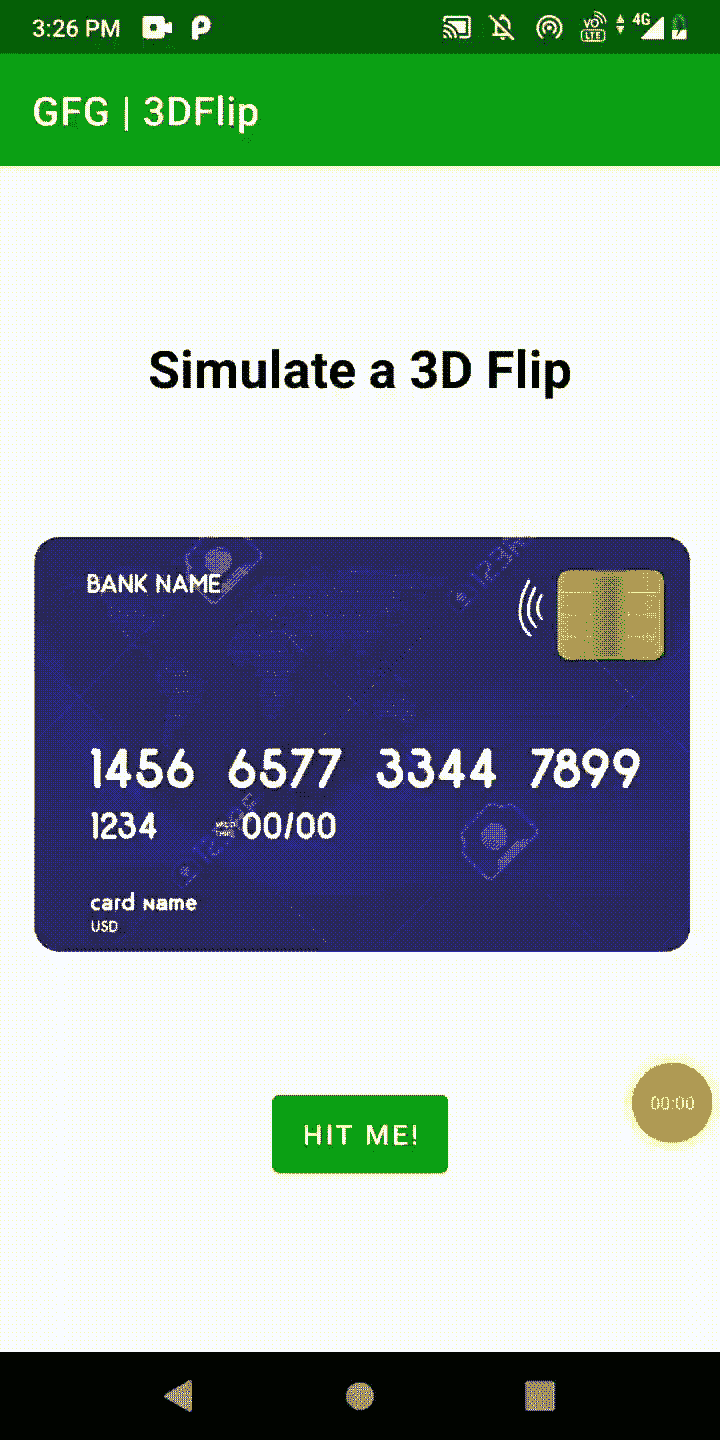
现在,运行应用程序
输出:
源代码: 点击此处
