安卓中的 ImageView,示例
原文:https://www . geesforgeks . org/imageview-in-Android-with-example/
ImageView 类用于显示安卓应用中的任何一种图像资源,可以是 android.graphics.Bitmap,也可以是 Android . graphics . drawing able . drawing able(它是对任何可以在安卓中绘制的东西的通用抽象)。ImageView 类或 android.widget.ImageView 继承了 android.view.View 类,它是 Kotlin 的子类。任何课程。ImageView 的应用还在于对图像应用色调,以便重用可绘制的资源并在背景图像上创建覆盖。此外,ImageView 还用于控制图像的大小和移动。
向活动添加图像视图
每当将 ImageView 添加到活动中时,就意味着需要一个映像资源。因此,向 ImageView 类提供一个图像文件是没有意义的。这可以通过添加安卓工作室本身的图像文件来完成,或者我们可以添加自己的图像文件。安卓工作室拥有广泛的可绘制资源,这些资源在安卓应用布局中非常常见。以下是向 ImageView 类添加可绘制资源的步骤。
注意:步骤在 Android Studio 版本上执行
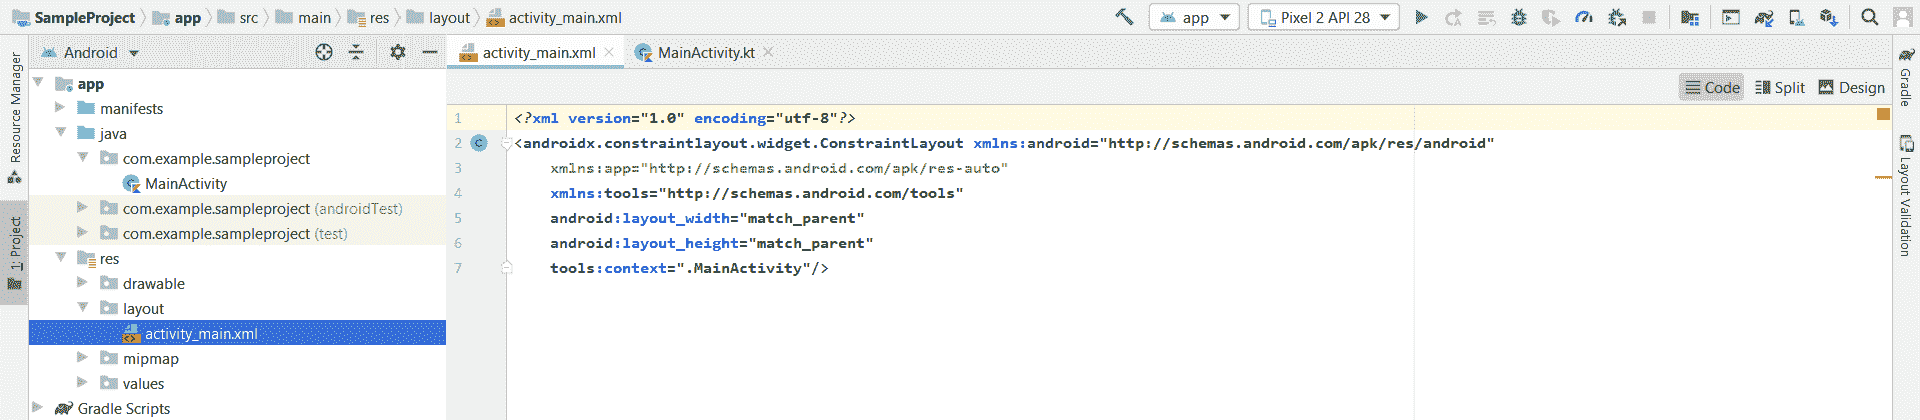
打开要添加图像的 activity_main.xml 文件
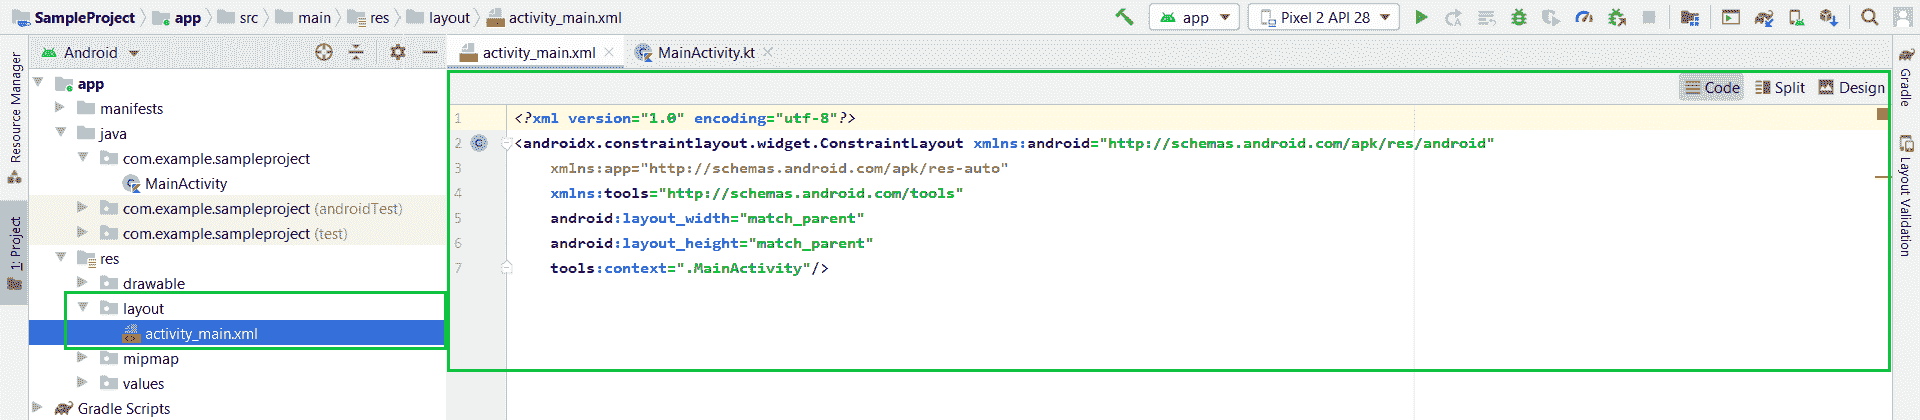
从 activity_main.xml 文件的代码视图切换到设计视图。
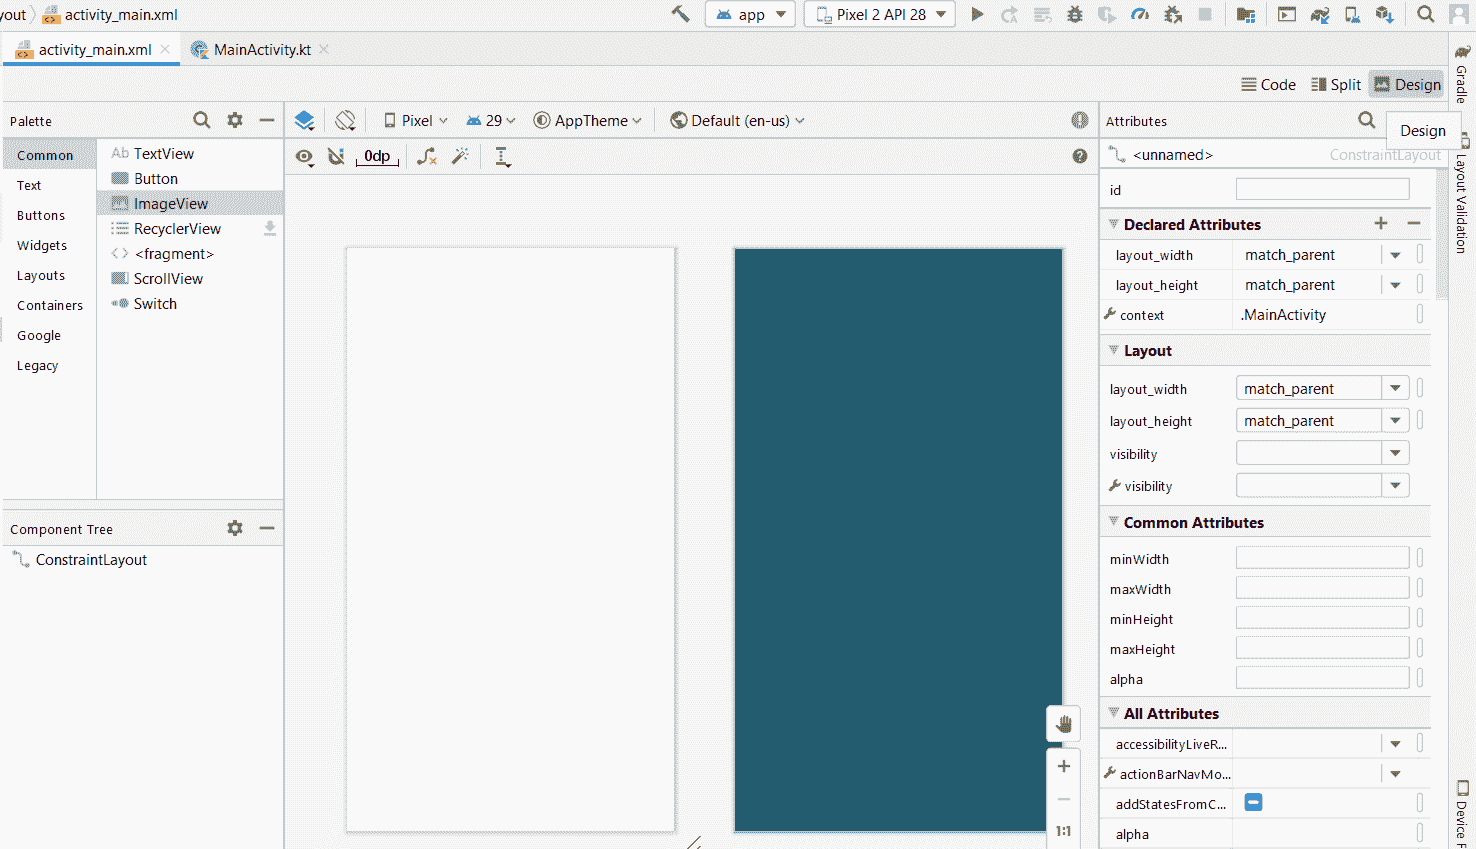
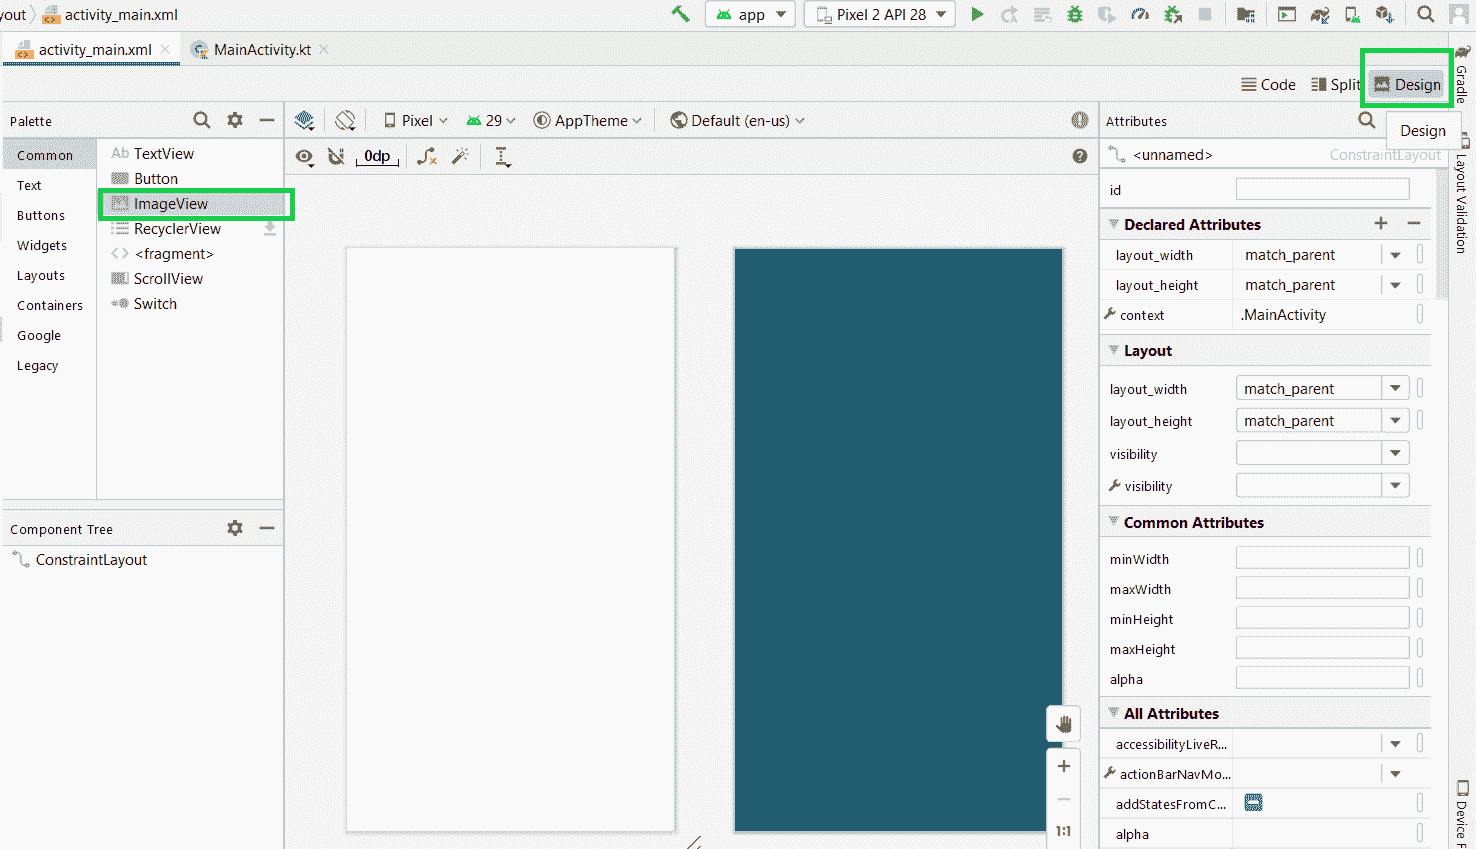
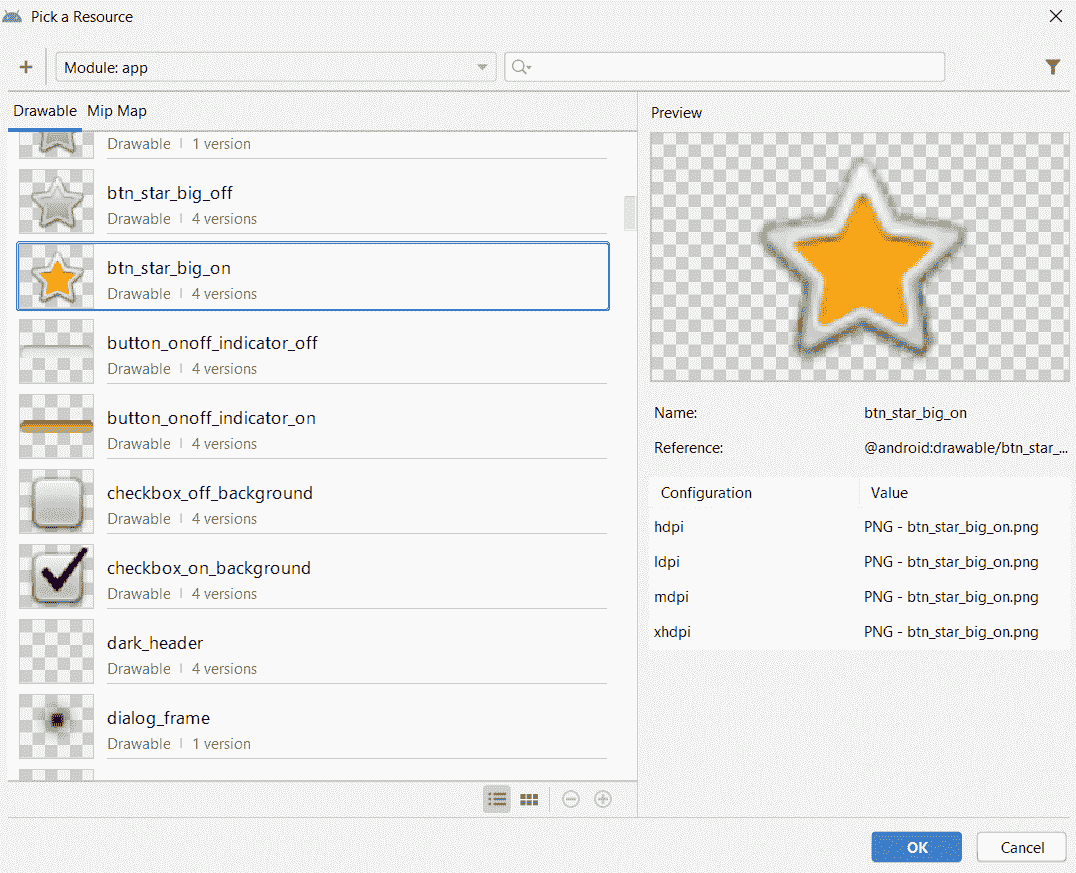
从 Android Studio 添加图像将 ImageView 小部件拖动到应用程序的活动区域,将打开一个弹出对话框,从广泛的可绘制资源中进行选择,然后单击“确定”。

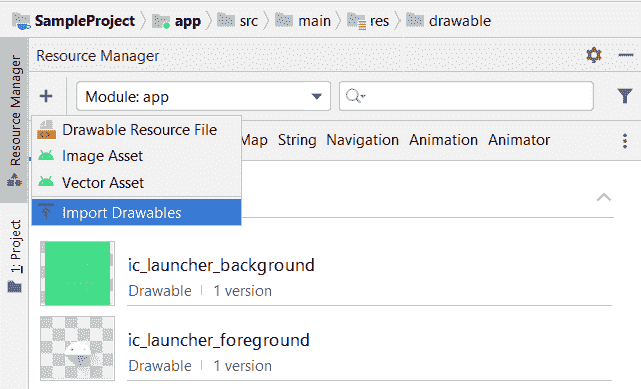
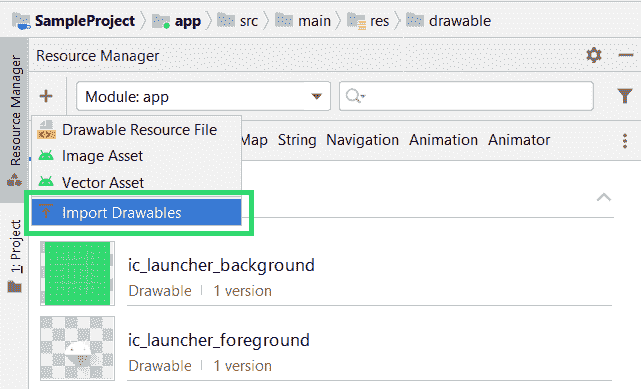
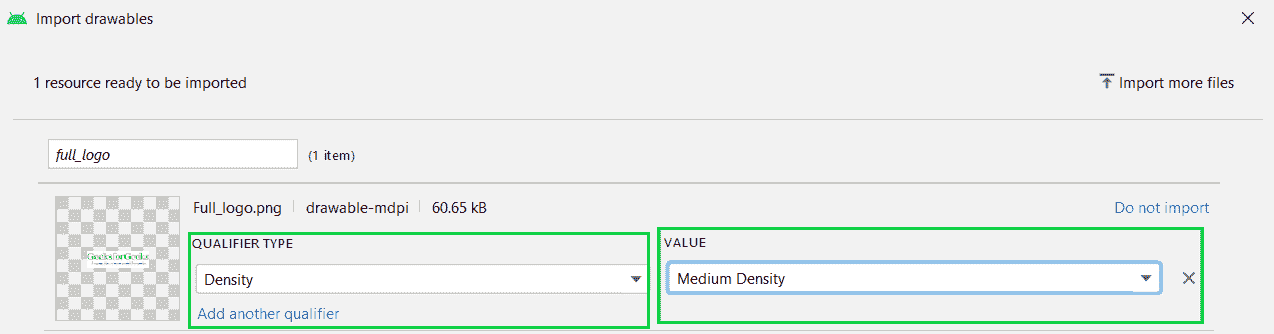
添加安卓工作室可绘制资源以外的图像文件: 点击最左侧面板的“资源管理器”选项卡,选择“导入可绘制资源”选项。
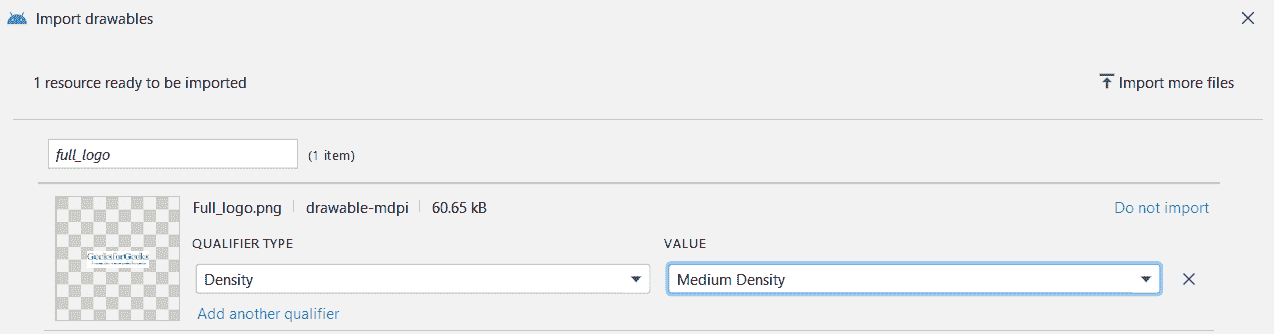
选择计算机上图像文件的路径,然后单击“确定”。之后,根据您的需要设置图像文件的“限定符类型”和“值”,然后单击“下一步”和“导入”。
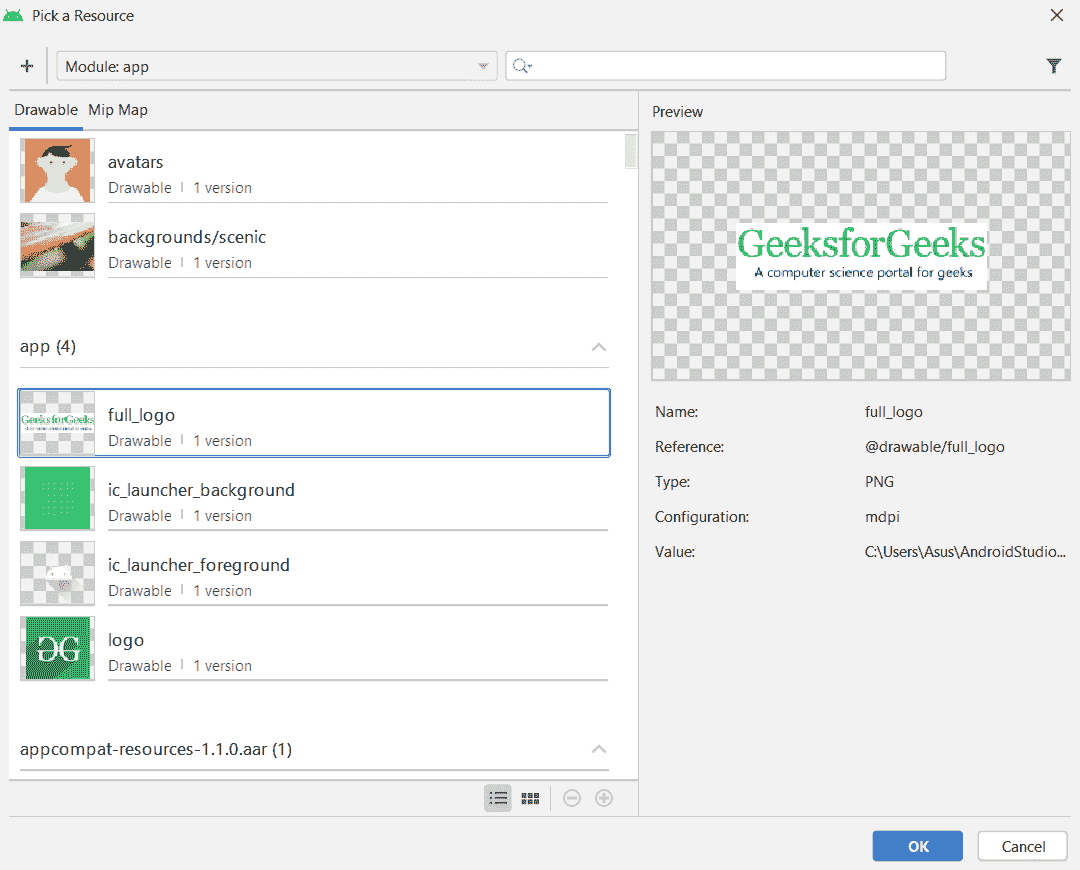
将 ImageView 类拖到活动区域,将出现一个弹出对话框,其中包含您导入的图像文件。选择您的图像文件,然后单击“确定”,您的图像将被添加到活动中。

注意:添加图像后,垂直和水平设置其约束布局,否则会显示错误。
图像视图的可扩展标记语言属性
例子
分步实施
第一步:创建新项目
要在安卓工作室创建新项目,请参考如何在安卓工作室创建/启动新项目。
步骤 2:使用 activity_main.xml 文件
导航到应用程序> res >布局> activity_main.xml 并将下面的代码添加到该文件中。下面是 activity_main.xml 文件的代码。
可扩展标记语言
<?xml version="1.0" encoding="utf-8"?>
<androidx.constraintlayout.widget.ConstraintLayout
    xmlns:android="http://schemas.android.com/apk/res/android"
    xmlns:app="http://schemas.android.com/apk/res-auto"
    xmlns:tools="http://schemas.android.com/tools"
    android:layout_width="match_parent"
    android:layout_height="match_parent"
    tools:context=".MainActivity">

    <ImageView
        android:id="@+id/GfG_full_logo"
        android:layout_width="0dp"
        android:layout_height="wrap_content"
        app:layout_constraintBottom_toBottomOf="parent"
        app:layout_constraintEnd_toEndOf="parent"
        app:layout_constraintStart_toStartOf="parent"
        app:layout_constraintTop_toTopOf="parent"
        app:layout_constraintVertical_bias="0.078"
        app:srcCompat="@drawable/full_logo" />

    <ImageView
        android:id="@+id/GfG_logo"
        android:layout_width="wrap_content"
        android:layout_height="wrap_content"
        app:layout_constraintBottom_toBottomOf="parent"
        app:layout_constraintEnd_toEndOf="parent"
        app:layout_constraintStart_toStartOf="parent"
        app:layout_constraintTop_toBottomOf="@+id/GfG_full_logo"
        app:srcCompat="@drawable/logo" />

</androidx.constraintlayout.widget.ConstraintLayout>
注:以 app:layout_constraint 开头的 ImageView 的所有属性都是固定活动中图像位置的垂直和水平约束。这对于将约束添加到 ImageView 是非常必要的,否则,所有图像将占据活动布局的位置(0,0)。
步骤 4:使用 主活动文件
转到主活动文件,参考以下代码。以下是主活动文件的代码。代码中添加了注释,以更详细地理解代码。因为在活动中,只添加了 2 个图像,没有其他操作,如触摸按钮等。因此,主活动文件看起来就像下面的代码。
Java 语言(一种计算机语言,尤用于创建网站)
import androidx.appcompat.app.AppCompatActivity;
import android.os.Bundle;

public class MainActivity extends AppCompatActivity {
    @Override
    protected void onCreate(Bundle savedInstanceState) {
        super.onCreate(savedInstanceState);
        setContentView(R.layout.activity_main);
    }
}
我的锅
import androidx.appcompat.app.AppCompatActivity
import android.os.Bundle

class MainActivity : AppCompatActivity() {
    override fun onCreate(savedInstanceState: Bundle?)
    {
        super.onCreate(savedInstanceState)
            setContentView(R.layout.activity_main)
    }
}
输出:

